
DIY Apron Sewing Project by The Textile District
Published by NannetteD on 19th Jan 2024
Whether you are baking cookies and special treats or preparing the main feast, a cute apron made in holiday colors and patterns adds to the festive mood while protecting your clothes from splashes, spills, and sticky fingers! I decided to make this apron in our Cotton Linen blend fabric, as it has the luxurious look of linen and easy care of cotton, but you can choose any of our home decor weight base fabrics, including Cotton Duck, Cotton Twill, Sailcloth, Linens, or even Outdoor Polyester!
One of my personal favorites is Cotton Duck. It prints beautifully, is absorbent, durable, and very easy to cut and sew! For a slightly fancier look, our Cotton Sateen has a lovely sheen and drape, and a wonderful option to bundle in a kitchen-themed gift for a new bride or something special to give family and friends at the holidays.
So let's get started!

DIY Apron Free Sewing Pattern
Skill Level: Easy
The following are just guidelines, so adjust your cutting pattern to suit the recipient's measurements.
- Made in sturdy, machine-washable fabric.
- Apron ties at the neck for easy adjustment of fit.
- Roomy front pocket is center stitched to create two halves for conveniently holding tools and recipes.
- Adult: 12" x 27" x 37"
- Child: 12" x 27" x 32"
Materials
Yardages and cutting instructions are based on 55" of usable fabric width.
- 2 yards, Cotton Duck or Cotton Linen fabric
- Featured Fabric: "Beads" in Holiday Green
- Matching sewing thread (we used white in this project)
- Basic sewing and pressing supplies
Cutting and Sewing Instructions
When working with directional prints, it's important to consider how you want the design to be oriented on your finished item.
For this project, I wanted the striping to run vertically on the apron (top to bottom). I also wanted the direction of the print to be consistent on the ties at the neck and the waist, which required cutting two strips (3" x 36") with the stripe running lengthwise on the ties, and two strips (3" x 36") with the stripe running across the width. If you are using a solid fabric, simply cut four strips (3" x 36").
Step 1: Draft the Pattern
The pattern was designed to be cut on the fold to ensure the striping in our artist's directional print was positioned straight on the apron. Cutting the pocket on the fold makes it easy to pattern matches seamlessly on the front.

Step 2: Cut the Fabric Pieces
Now that you have your pattern drafted, it's time to cut the fabric pieces. Lay out your chosen fabric on a flat, clean surface. If you're using a directional print like the featured "Beads" in Holiday Green, pay attention to the orientation for each piece.
- Cut one apron body: 13" x 27" (folded dimensions). This will be the main part of your apron.
- Cut two strips for the ties: 3" x 36" each. Ensure that the stripe runs lengthwise on one pair and across the width on the other pair, maintaining consistency with your chosen direction.
- Cut one front pocket: 8" x 16" or size you desire. Keep in mind the directional print when positioning the pocket on the apron later.

Step 3: Hem the Apron Body and Pocket
With the wrong side facing, double fold and roll a narrow hem along the outer edges of the apron body, and press. Using a matching sewing thread, stitch along the folded edge to secure in place.


Step 4: Prepare the Ties
With wrong sides facing, take the 3" x 36" strips intended for the ties and fold each strip in half lengthwise (right sides together) and press. Then, stitch along the long edge, leaving the short ends open. Turn the ties right side out, press again, and tuck raw edges of fabric to the inside and stitch closed. Set them aside.
Step 5: Attach the Ties to the Apron Body
With the wrong side of your apron facing, position the ties on the apron body at the top and sides, aligning the edges as shown. Stitch in place, securing the ties to the apron body.


Step 6: Add the Front Pocket
Take the front pocket piece (raw edges should be hemmed on all four sides) and fold it in half, right sides facing. Mark the horizontal center on the top and bottom with a pin. With right sides facing on the apron body and pocket, position the pocket so that it is centered, taking care to match the print pattern as closely as possible. Center stitch the pocket onto the apron body, creating two halves for conveniently holding tools and recipes. Starting at the top left corner of the pocket, stitch along the short edge on the left side of your pocket, along the bottom edge, and remaining short edge on the right side (leaving the top of the pocket open).
Holiday Fabric Designs for Year-Round Gifting
Whether you're making this apron for yourself or as a thoughtful gift, these fabric prints are sure to add charm to your kitchen adventures. Happy sewing!
Classic Christmas Reds & Greens
-
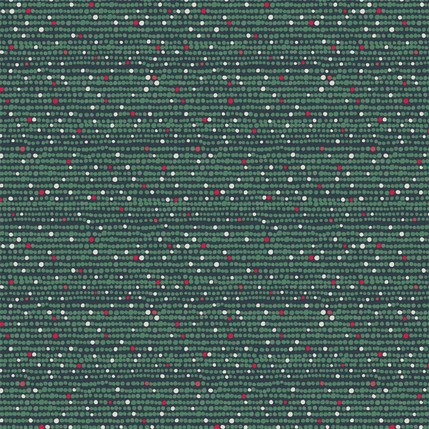
Beads - in "Holiday Green"
-

Beads - in "Holiday Dark Green"
-
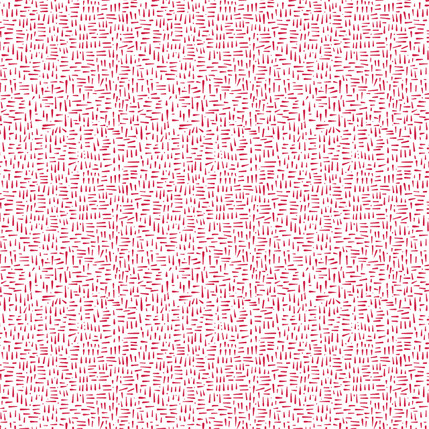
Staccato - in "Holiday Red"
-

Beads - in "Spruce"
-
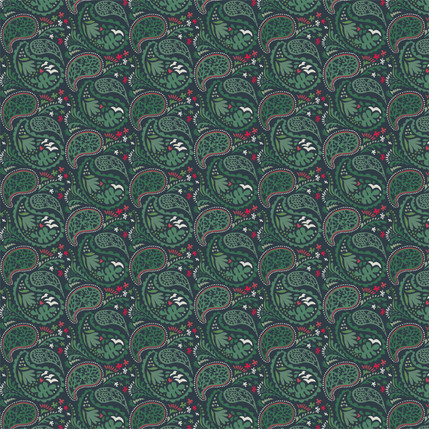
Matisse Paisley - in "Holiday Green"
-
Matisse Paisley - in "Holiday Red"
-

Matisse Paisley - in "Evergreen"
-
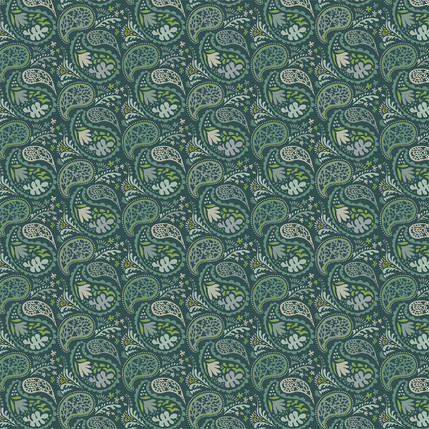
Matisse Paisley - in "Evergreen Taupe"
-
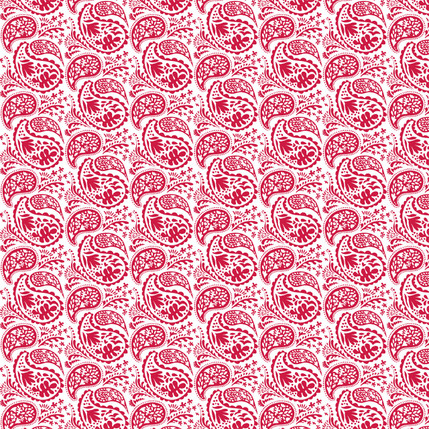
Overlapping Medallions - in "Holiday Red"
Valentine's Day - Holiday Reds & White
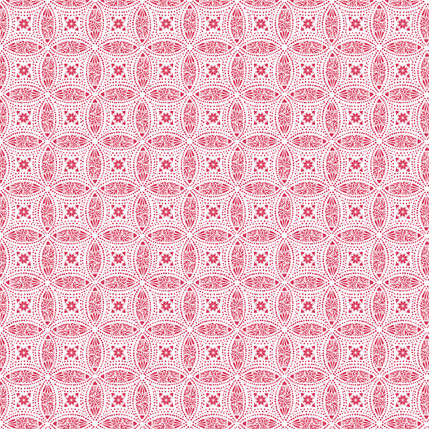
-

Delight Grande - in "Lipstick"
-

Delight Grande - in "Lipstick Reverse"
-

Delight Mini - in "Lipstick"
-

Delight Mini - in "Lipstick Reverse"
-

Delight Mini - in "Red"
-
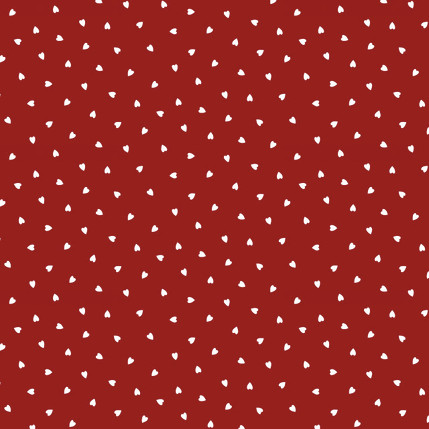
Delight Mini - in "Deep Red"
Let's Talk Textiles!
Join our mailing list to stay up to date about new design arrivals, fabric updates, and much more. To thank you for joining, we'll send you a Welcome Coupon to take 15% off your first custom printed fabric order > > Sign Up Today
How To Order Custom Printed Fabrics on The Textile District:
Each image represents 27" of printed fabric and clicks through to the product page for easy ordering:
- Choose any base fabric (15+ options)
- Select the color way you wish to print (click the icon)
- Enter the quantity you need (all print by the yard)
- Add to cart to order
As always, if you have a question or need help choosing which base fabric option is best for your project at hand, we are here to help. Please send us a note or give us a call. We'd love to hear from you!
Not sure which base fabric is most suitable for your next project?
© 2024 The Textile District
www.thetextiledistrict.com | Need Help? Call us on 704-814-0712
All designs are the licensed property of the featured artist.