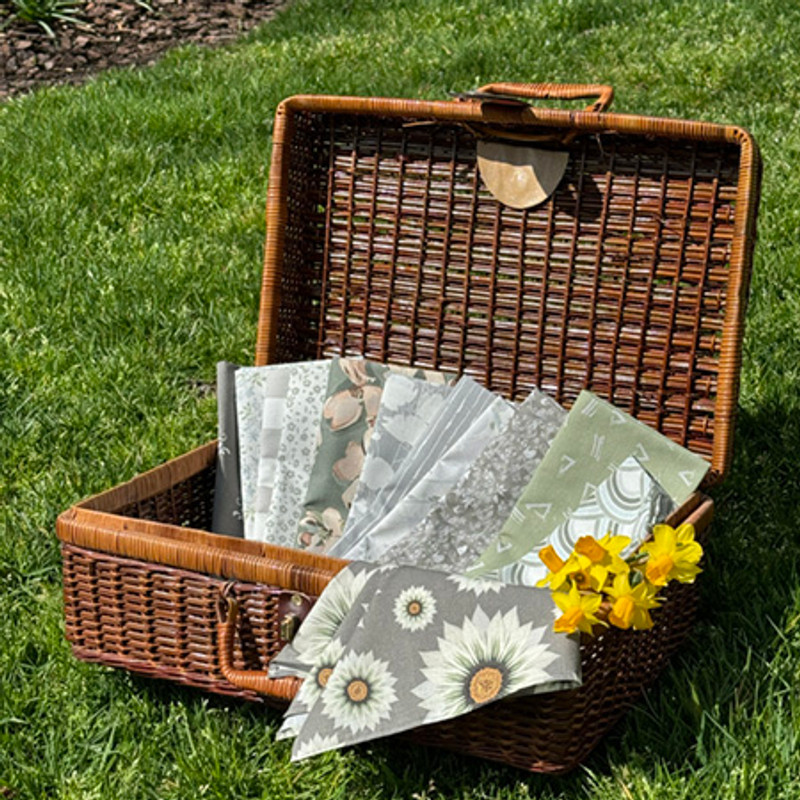
DIY Reversible Cloth Napkins
Published by NannetteD on 5th Mar 2024
Are you considering ordering a fat quarter bundle to sample a designer collection, but not sure what you can make with the individual fat quarters other than quilting? Square them up and make cloth napkins!
In this post we'll give you the basic instructions for how to sew reversible cloth napkins. It's a beginner friendly project, and they can even be sewn by hand if you prefer slow sewing projects to using a machine.
One fat quarter bundle from The Textile District will yield six reversible napkins or twelve single-layer cloth napkins. Either option you choose will yield a beautiful set of soft, absorbent cloth napkins that can be laundered and reused time after time!
The instructions below are for how to make one reversible cloth napkin using two 18" x 21" fat quarters of coordinating colors or print fabrics.
If you prefer making single layer napkins, you can finish the outer edges with a narrow rolled hem (shown in our picnic basket photo), a zig-zagged or overlock stitched hem, or attach trim for an extra creative touch!
Featured assortment is the New Day Morning Mist fat quarter bundle by Blue Bee Studios.
Materials Needed:
- Coordinating cotton quilt fabric (fat quarter bundles or yardage)
- Sewing machine
- Thread (matching or contrasting)
- Iron and ironing board
- Straight Pins
- Fabric scissors or rotary cutter
- A clear acrylic quilting ruler is helpful ensuring corners are cut square.
How to Sew Cloth Napkins:
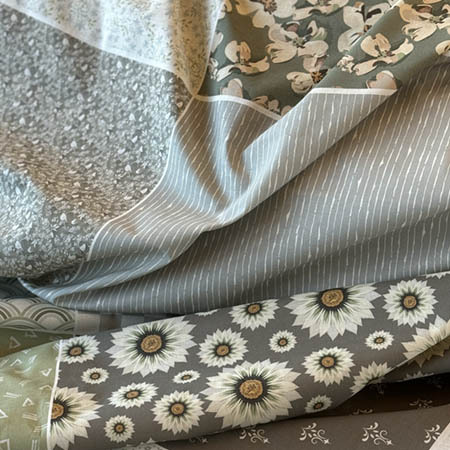
Prepare Your Fabrics:
If you are sewing with The Textile District's cotton quilt fabrics, you can skip this step! Our fabrics are pre-washed/dried as part of our finishing process. If you are using commercially sourced fabrics, you may wish to start by washing and ironing your fabrics to remove any wrinkles or sizing.
Cut the Fabrics:
Trim fat quarters to an 18" x 18" square. If they're not already square, measure and mark, then cut the excess.
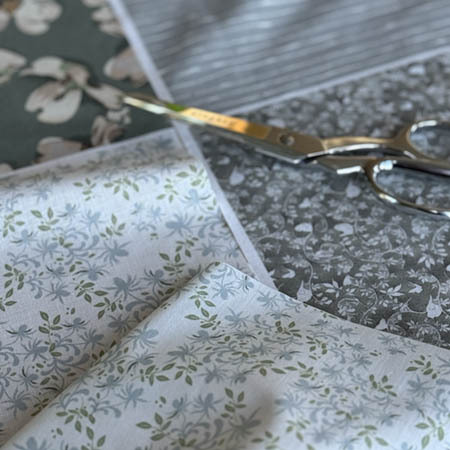
Layer Your Fabrics:
Lay one fat quarter on top of the other, right sides together. This means the patterned or colorful sides should be facing each other.
Pin and Sew:
Pin around the edges of the square, leaving a 4-inch gap on one side. This gap will be used to turn the napkin right-side out. Using a 1/4-inch seam allowance, sew around the entire square, backstitching at the beginning and end. Remember to leave the 4-inch gap unsewn.
Clip the Corners:
Trim the excess fabric at the corners, being careful not to cut into the stitching. This will reduce bulk when you turn the napkin right-side out.
Turn the Napkin:
Reach inside the 4-inch gap and carefully turn the napkin right-side out. Push out the corners to make them sharp, and use a pencil or chopstick to help if needed.
Press the Napkin:
Iron the napkin flat, making sure the edges are crisp and the seam around the gap is neatly folded in.
Topstitch Around the Edges:
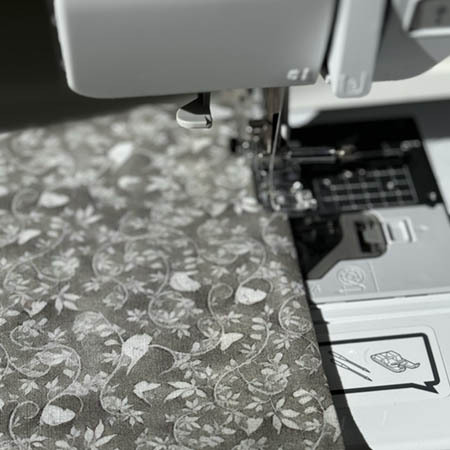
Topstitch around the entire edge of the napkin, about 1/8 inch from the edge. This will close the gap and give your napkin a finished look.
Press Again:
Give your finished reversible cloth napkin a final press with the iron to ensure all edges are crisp and neat.
And that's it! You've created a reversible cloth napkin using two 18" x 21" fat quarters of coordinating fabrics. This easy-to-sew project is a quick and easy way to add a pop of seasonal color to your table setting or add a personal touch to housewarming or food gift baskets, hostess gifts, teacher gifts, and more!
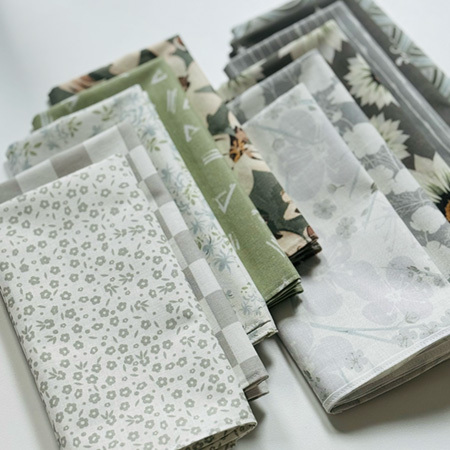
Shop Fat Quarter Fabric Assortments on The Textile District.

Let's Talk Textiles!
Join our mailing list to stay up to date about new design arrivals, fabric updates, and much more. To thank you for joining, we'll send you a Welcome Coupon to take 15% off your first custom printed fabric order > > Sign Up Today

How To Order Custom Printed Fabrics on The Textile District:
Each image represents 27" of printed fabric and clicks through to the product page for easy ordering:
- Choose any base fabric (15+ options)
- Select the color way you wish to print (click the icon)
- Enter the quantity you need (all print by the yard)
- Add to cart to order
As always, if you have a question or need help choosing which base fabric option is best for your project at hand, we are here to help. Please send us a note or give us a call. We'd love to hear from you!

Not sure which base fabric is most suitable for your next project?
- View Our Ground Fabrics for Custom Printing
- Frequently Asked Questions (FAQs)
- Order A Fabric Swatch Kit

© 2024 The Textile District
www.thetextiledistrict.com | Need Help? Call us on 704-814-0712
All designs are the licensed property of the featured artist.
