
How to Sew a Knife-Edge Pillow | Free Project
Published by NannetteD on Feb 7th 2024
In the world of do-it-yourself home decor, few accessories have the power to refresh a room as simply as custom throw pillows. Knife edge pillows are an easy and cost-effective way to add a seasonal touch to your living space, and they are a perfect beginner sewing project.
Whether you're a seasoned seamstress or just discovering how fun it is to sew and create, this free sewing project will show you how easy it is to create beautiful, custom pillow covers that perfectly complement your home decor.
To help get you started, these are the most common pre-made pillow forms sizes available for purchase:
- 16×16 inches – This petite pillow size is ideal for use on smaller sofas or accent chairs. These versatile cushions effortlessly complement each other in multiples, and they make for perfect accent pieces when adorning a larger bed or couch, and can be coupled with larger pillows for a layered look.
- 18×18 inches – The epitome of standard throw pillow size, this 18×18 inch cushion reigns supreme in popularity and versatility. Whether standing alone or paired with smaller or larger companions, it seamlessly adapts to the unique dimensions of the space you're decorating.
- 20×20 inches – Step into the realm of larger throw pillow sizes with this 20×20 inch beauty. Tailored for grander sofas or beds, these pillows not only provide a luxurious aesthetic but also act as an anchor, harmonizing effortlessly with smaller throw pillows for a well-rounded look.
- 24×24 inches – Experience the grandeur of oversized elegance with this 24×24 inch pillow, a statement piece crafted for sectionals or larger king-size beds. These lavish cushions are designed to complement the scale of larger furniture, adding a touch of flair and elegance to your living spaces.
DIY Knife Edge Pillow Free Sewing Pattern
Skill Level:
Easy
Once you get the hang of creating square throw pillows, you may wish to mix it up by creating other shapes and sizes: Lumbar (rectangular pillows), Bolsters, Circular, and even Free Form Shapes.
So, gather your materials, thread your sewing machine, and let's have some creative fun!
Materials Needed:
- Fabric of your choice
- Matching thread
- Invisible zipper
- Pillow form
- Sewing machine
- Scissors
- Pins
- Iron
Step 1: Measure and Cut Fabric
Begin by measuring and cutting two identical squares or rectangles from your chosen fabric. Ensure the dimensions are equal to the size of your pillow form plus seam allowances. If you're making a 18 x18 inch pillow, for example, cut two pieces each measuring 20 x 20 inches to account for a 1/2 inch seam allowance on all sides.
Step 2: Align and Pin
Place the fabric pieces right sides together, aligning the edges. Pin the fabric along three sides, leaving one side open for the zipper. This will be your pillow's opening.
Step 3: Install the Invisible Zipper
Position the zipper face down on the open side of the fabric. Pin it in place, making sure the zipper teeth align with the fabric edge. Using a zipper foot on your sewing machine, stitch the zipper in place on both sides, ensuring a clean and straight seam.
Step 4: Sew the Remaining Edges
With the zipper closed, sew the remaining three sides of the pillow, securing the fabric together. Make sure to backstitch at the beginning and end of each seam for added durability.
Step 5: Trim Excess Fabric
Trim any excess fabric from the corners and edges, taking care not to cut too close to the stitching. This will reduce bulk and help achieve crisp corners when the pillow is turned right side out.
Step 6: Turn Right Side Out
Carefully unzip the invisible zipper, then turn the pillow cover right side out through the open zipper. Use a blunt object to gently push out the corners for a cleaner, more defined shape.
Step 7: Insert the Pillow Form
If using a pillow form, insert it into the cover through the open zipper. For those opting to stuff the pillow, do so at this stage until you achieve the desired fullness.
Step 8: Zip and Finish
Zip up the invisible zipper, ensuring it glides smoothly and remains hidden. Finally, inspect your pillow cover for any loose threads or imperfections, and trim them for a polished, professional finish.
Congratulations! You've just created a beautiful knife-edge pillow cover with an invisible zipper closure—adding a touch of handmade elegance to your home decor.
Not sure what fabrics are most suitable? The Textile District offers an extensive range of high-quality fabrics that are perfect for creating custom pillows to fit your personal style! For pillows, we recommend Cotton Sateen and Cotton Duck for their versatility, as well as our Cotton Linen blends, and 100% linen decor fabrics.
We've showcased several options below to give inspire your creativity!
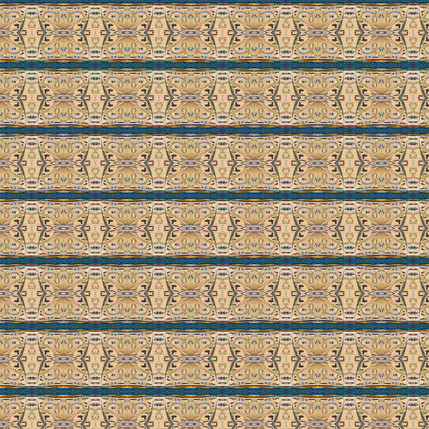
Pillow Inspiration - Fabrics by J Luna Designs

-
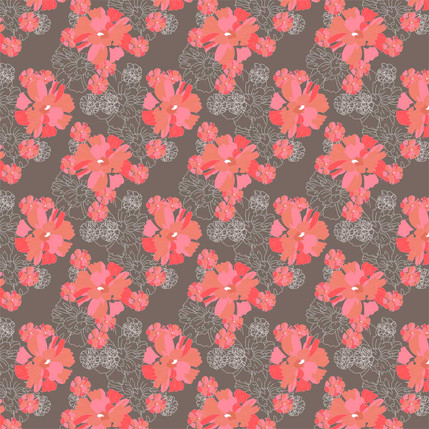
In Full Bloom - in "Wood & Coral"
-
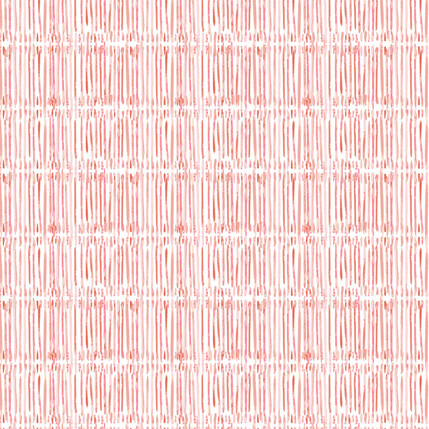
Waterfall - in "Coral - Peach"
-
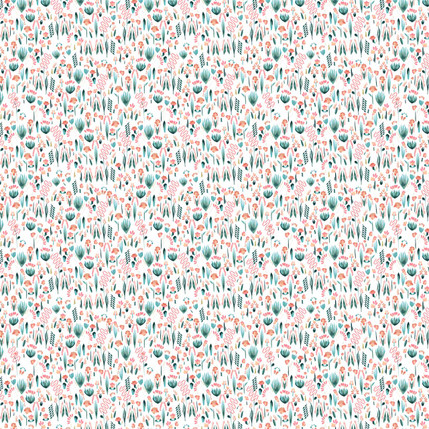
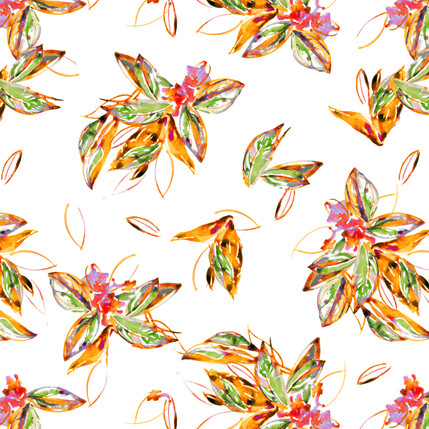
Watercolor Bouquet - in "Tropical - Jade & Peach"
-
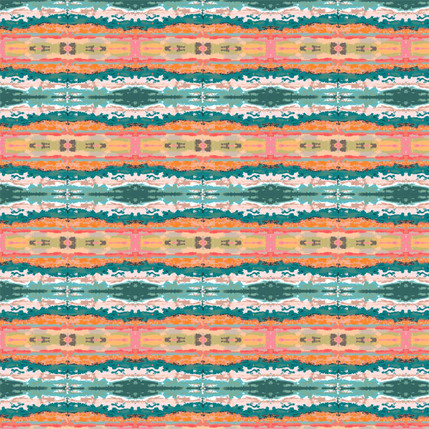
Flow - in "Tropical - Jade & Peach"


Pillow Inspiration - Fabrics by Scarlet Crane Creations

-
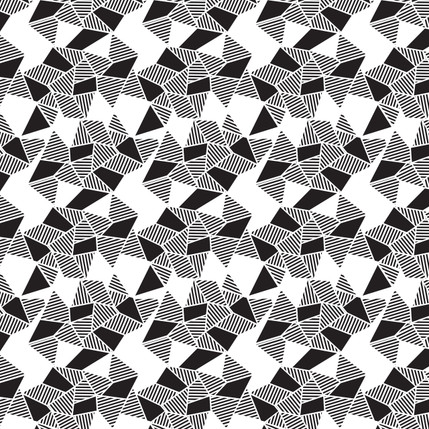
AfroGeo - in "Black & White"
-
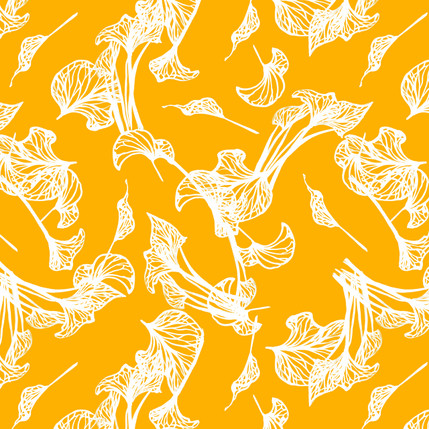
Foliage - in "Yellow"
-

Painted Stripe - in "Black"
-
Philodendron - in "Green"
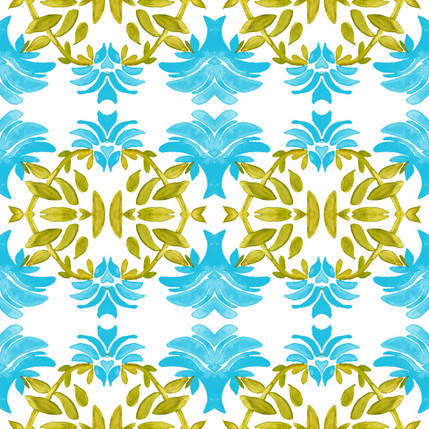
Pillow Inspiration - Fabrics by Ludmila Linhartova Designs

-
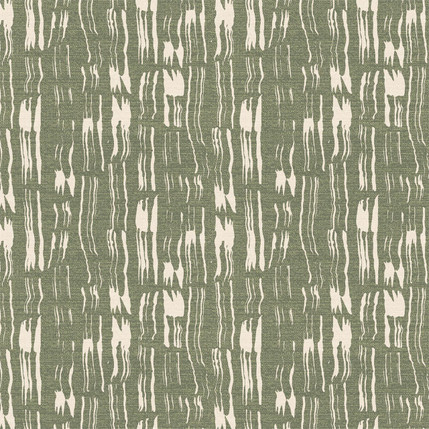
Tree Bark - in "Olive"
-
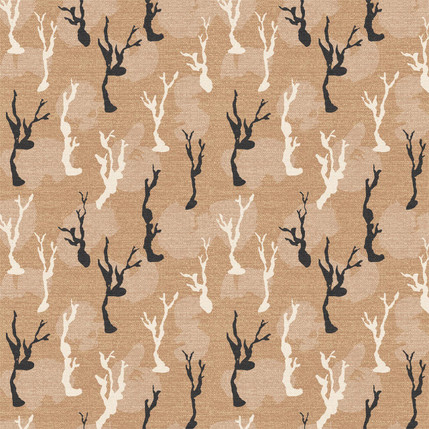
Lonely Trees - in "Sand"
-
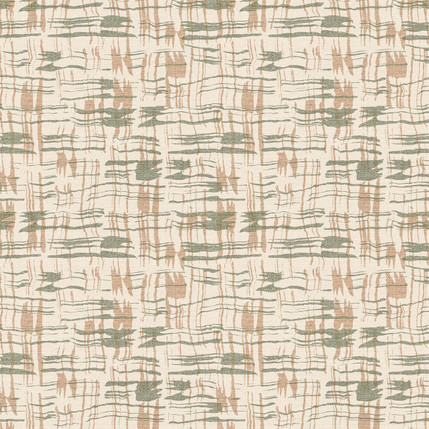
Calligraphy Plaid - in "Cream"
-

Sakura Blossoms - in "Olive"

-
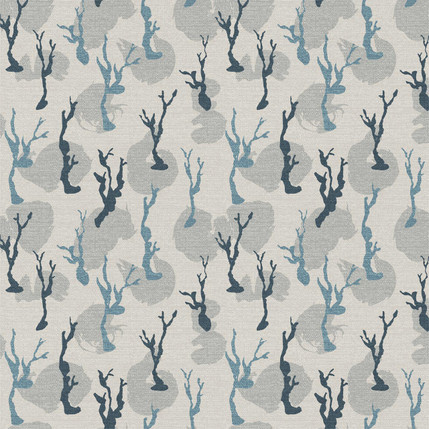
Lonely Trees - in "Light Grey"
-
Ginkgo Leaves - in "Slate"
-
Artisan Vases - in "Light Grey"
-
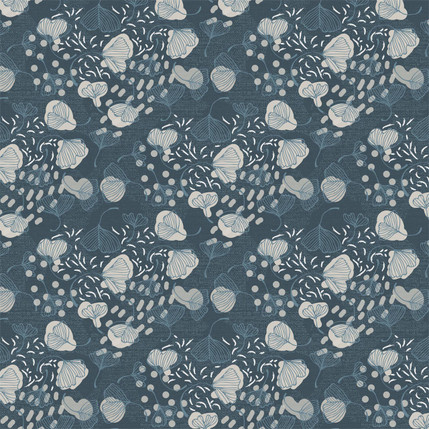
Sakura Blossoms - in "Blue"
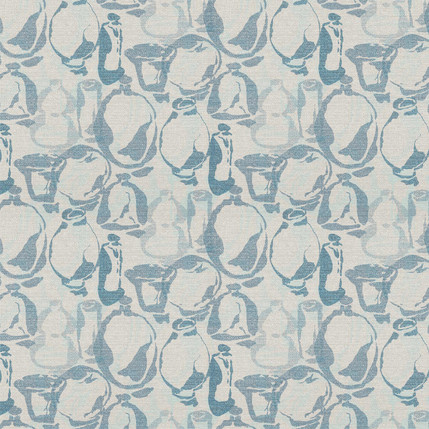
Pillow Inspiration - Fabrics by Monica Kapur

-
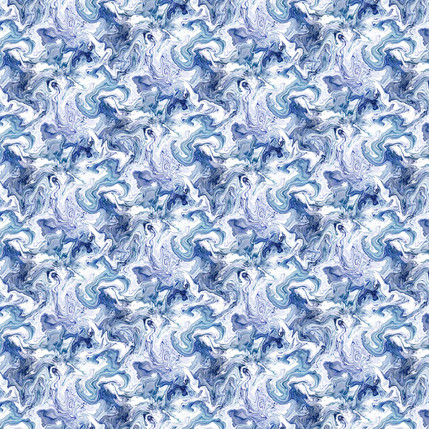
Artistic Swirls - in "Blue"
-
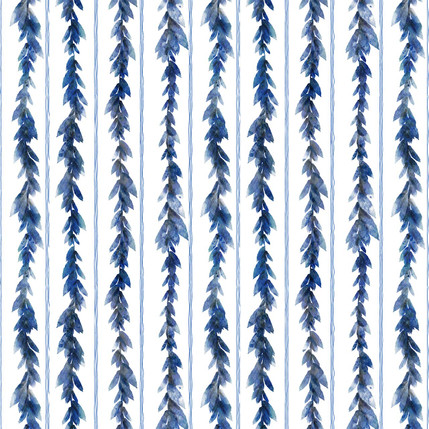
Artistic Leaves - in "Blue"
-

Artistic Lines - in "Blue"
-

Artistic Watercolor - in "Blue"
Pillow Inspiration - Fabrics by Sudie Rakusin Designs

-

Vase - in "Original"
-
Careening - in "Original"
-
Kaleidoscope - in "Original"
-
Blue Bayou - in "Original"
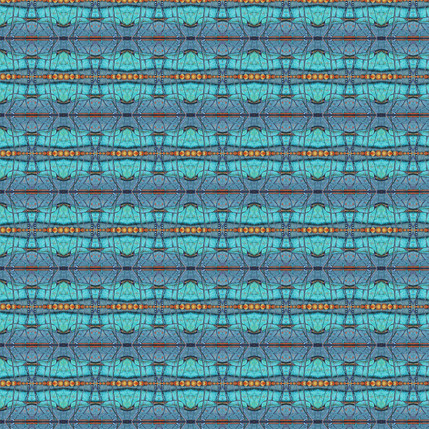
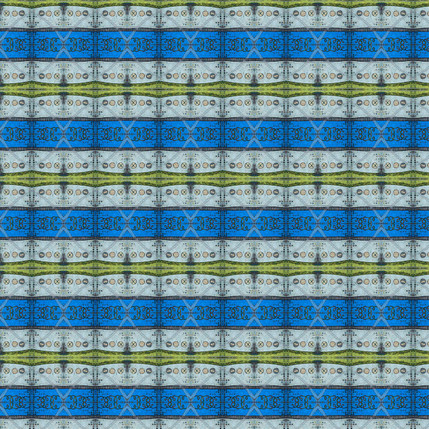
Pillow Inspiration - Fabrics by Rhonda Fargnoli

-
Newport - in "Pool"
-

Porto - in "Lemon"
-

Trellis - in "Cornflower Blue"
-

Trellis Reverse - in "Lettuce"
Let's Talk Textiles!
Join our mailing list to stay up to date about new design arrivals, fabric updates, and much more. To thank you for joining, we'll send you a Welcome Coupon to take 15% off your first custom printed fabric order > > Sign Up Today
How To Order Custom Printed Fabrics on The Textile District:
Each image represents 27" of printed fabric and clicks through to the product page for easy ordering:
- Choose any base fabric (15+ options)
- Select the color way you wish to print (click the icon)
- Enter the quantity you need (all print by the yard)
- Add to cart to order
As always, if you have a question or need help choosing which base fabric option is best for your project at hand, we are here to help. Please send us a note or give us a call. We'd love to hear from you!
Not sure which base fabric is most suitable for your next project?
© 2024 The Textile District | Need Help? Call us on 704-814-0712
All designs are the licensed property of the featured artist.