
How to Sew Cloth Napkins | Free Project
Published by Nannette D. | The Textile District on Mar 5th 2024
Updated September 2026 to reflect current Fat Quarter assortments, fabric information and sewing guidance.
Reusable cloth napkins are an easy beginner sewing project and a practical way to turn coordinating fabrics into something you can use throughout the year. Make a matching set for your own table, mix complementary prints for a more collected look, or add a handmade napkin to a hostess, housewarming or food gift.
This tutorial shows you how to sew a reversible cloth napkin using two coordinating 18" × 21" fat quarters. The finished napkin is soft, washable and neatly finished on both sides.
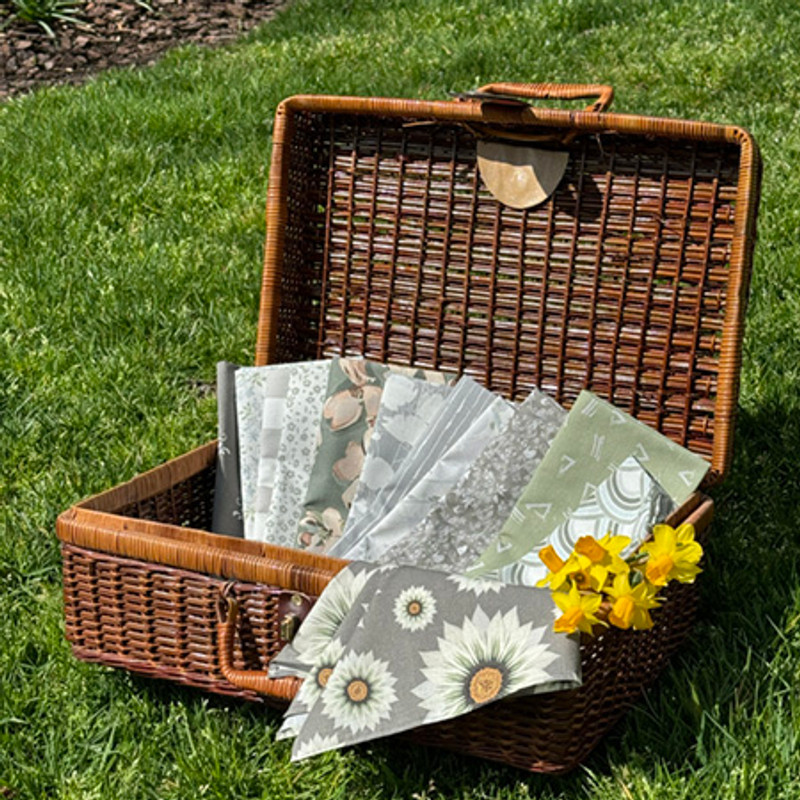
The Textile District’s Fat Quarter assortments include twelve coordinated artist-designed prints on Cotton Quilt fabric. Each assortment is supplied as three continuous yards so you can cut the twelve fat quarters when you are ready to sew.
DIY Reversible Cloth Napkins
Skill level: Beginner
For one reversible napkin: Use two coordinating fat quarters.
A twelve-print Fat Quarter assortment can be cut into twelve fat quarters, enough to make six reversible napkins when two prints are used for each napkin.
If you prefer single-layer napkins, each fat quarter can also be finished individually with a narrow hem, rolled hem, overlock stitch or decorative edge treatment.
Why Use Cotton Quilt Fabric for Napkins?
Cotton Quilt is a practical choice for everyday cloth napkins because it is lightweight, soft, washable and easy to sew. It also presses cleanly, which makes it especially friendly for beginner projects.
The Textile District’s Cotton Quilt fabric is printed to order using OEKO-TEX® certified fiber-reactive dyes, then professionally steamed, washed and dried as part of the finishing process. No additional prewashing is required before you begin sewing.
View Cotton Quilt & Compare Our Base Fabrics
Materials You Will Need
- Two coordinating 18" × 21" fat quarters for each reversible napkin
- Coordinating or contrasting thread
- Sewing machine or hand-sewing needle
- Fabric scissors or rotary cutter and cutting mat
- Clear acrylic quilting ruler or straightedge
- Pins or clips
- Iron and ironing surface
- Point turner, chopstick or other blunt tool for shaping corners
Choose Coordinating Prints
Reversible napkins give you an opportunity to use two fabrics together. Choose prints that share a color, contrast in scale or combine a focal pattern with a quieter coordinate.
For example, pair a floral with a stripe, a geometric with a tonal print, or two related designs from the same artist collection.
Because both sides of the napkin will be visible, consider how the two fabrics work together before cutting.
Step 1: Prepare the Fabric
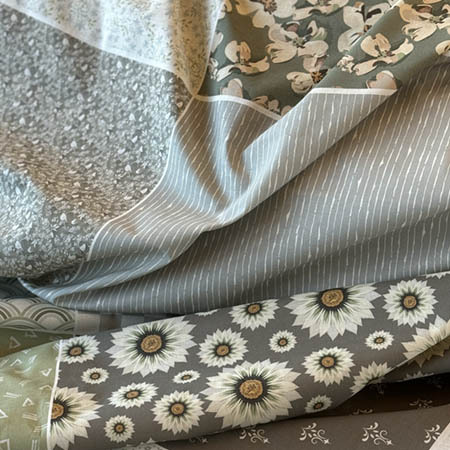
If you are using The Textile District’s Cotton Quilt fabric, no additional prewashing is required. The fabric has already been steamed, washed and dried as part of our fiber-reactive printing and finishing process.
Give the fabric a light press if needed so it lies flat before measuring and cutting.
Step 2: Cut Two 18-Inch Squares
Begin with two coordinating 18" × 21" fat quarters.
Trim each fat quarter to an 18" × 18" square. Use a clear acrylic ruler or straightedge to keep the edges straight and the corners square.
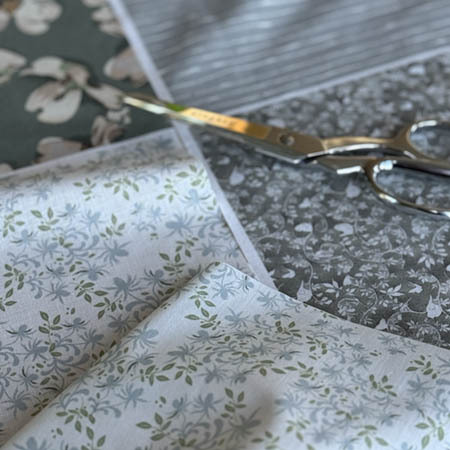
Before cutting, check the direction of the print. If the fabric contains a directional motif, stripe or large focal element, decide how you want it positioned on the finished napkin.
Step 3: Layer the Fabrics
Place the two fabric squares right sides together, aligning all four edges.
The printed sides of the fabrics should face one another so the wrong sides are visible on the outside.
Pin or clip around the perimeter to keep the layers aligned.
Step 4: Sew Around the Napkin
Using a ¼" seam allowance, sew around all four sides, leaving an opening of approximately 4" along one edge.
Backstitch at the beginning and end of the seam so the stitching remains secure while you turn the napkin.
The unsewn opening will be used to turn the napkin right side out.
Step 5: Clip the Corners
Trim diagonally across each corner without cutting through the stitching.
Removing this small amount of excess fabric reduces bulk and helps the finished corners turn more cleanly.
Step 6: Turn the Napkin Right Side Out
Reach through the opening and carefully turn the napkin right side out.
Use a blunt point turner, chopstick or similar tool to gently shape the corners. Avoid pushing too aggressively, which can damage the fabric or stitching.
Step 7: Press the Napkin
Press the napkin flat, rolling the seam gently toward the edge so neither fabric dominates the opposite side.
At the opening, fold the raw edges inward so they align with the sewn seam and press them in place.
Step 8: Topstitch the Edges
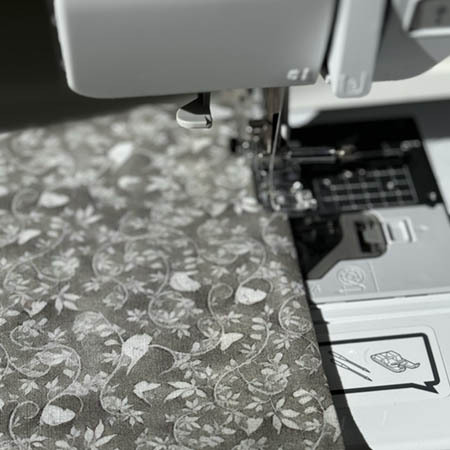
Topstitch around the entire perimeter approximately ⅛" from the edge.
The topstitching closes the turning opening and gives the napkin a crisp, finished appearance.
Choose matching thread for subtle stitching or use a contrasting color if you want the topstitching to become part of the design.
Step 9: Give the Napkin a Final Press
Press the finished napkin one more time so the edges and corners lie flat.
Your reversible cloth napkin is ready to use.
Make a Coordinated Set
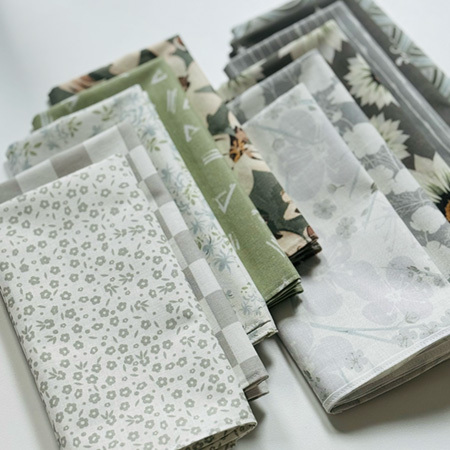
A reversible napkin set does not have to use the same two fabrics for every napkin. One of the advantages of working with a coordinated assortment is the ability to mix the prints while maintaining a related color story.
You might pair each focal print with a stripe, geometric or quieter coordinate, or simply combine the designs in different pairings across the set.
This approach works especially well for seasonal tables, casual entertaining and handmade gifts because the napkins coordinate without looking overly matched.
Make Single-Layer Cloth Napkins Instead
If you prefer a lighter single-layer napkin, use one fat quarter for each napkin and finish the exposed edges instead of sewing two fabrics together.
Options include:
- a narrow double-fold hem
- a rolled hem
- a zigzag or overlock finish
- decorative trim or contrasting stitching
Single-layer napkins also allow you to make as many as twelve napkins from one twelve-print Fat Quarter assortment.
Featured Fabric Assortment
The original napkins shown in this tutorial feature the New Day Morning Mist assortment by Blue Bee Studios.
You can also choose from other coordinated artist-designed Fat Quarter assortments for quilting, patchwork, bags, table linens, gifts and small sewing projects.
Create Coordinating Table Linens
Handmade napkins pair naturally with a table runner made from a related fabric. Use the same collection, repeat one color across several prints, or mix a focal design with quieter coordinates.
Next Project: How to Sew a Table Runner
For larger projects, including tablecloths and event linens, see our broader planning guide:
Read: Sewing Custom Table Linens
Explore Fat Quarters & Cotton Quilt Fabric
The Textile District’s Fat Quarter assortments feature twelve coordinated artist-designed prints on Cotton Quilt fabric. Each assortment is printed to order in the USA and supplied as three continuous yards for you to cut into twelve fat quarters.
If you prefer to work from yardage, browse the artist-designed catalog and choose the design, colorway and available base textile that fits your project.